
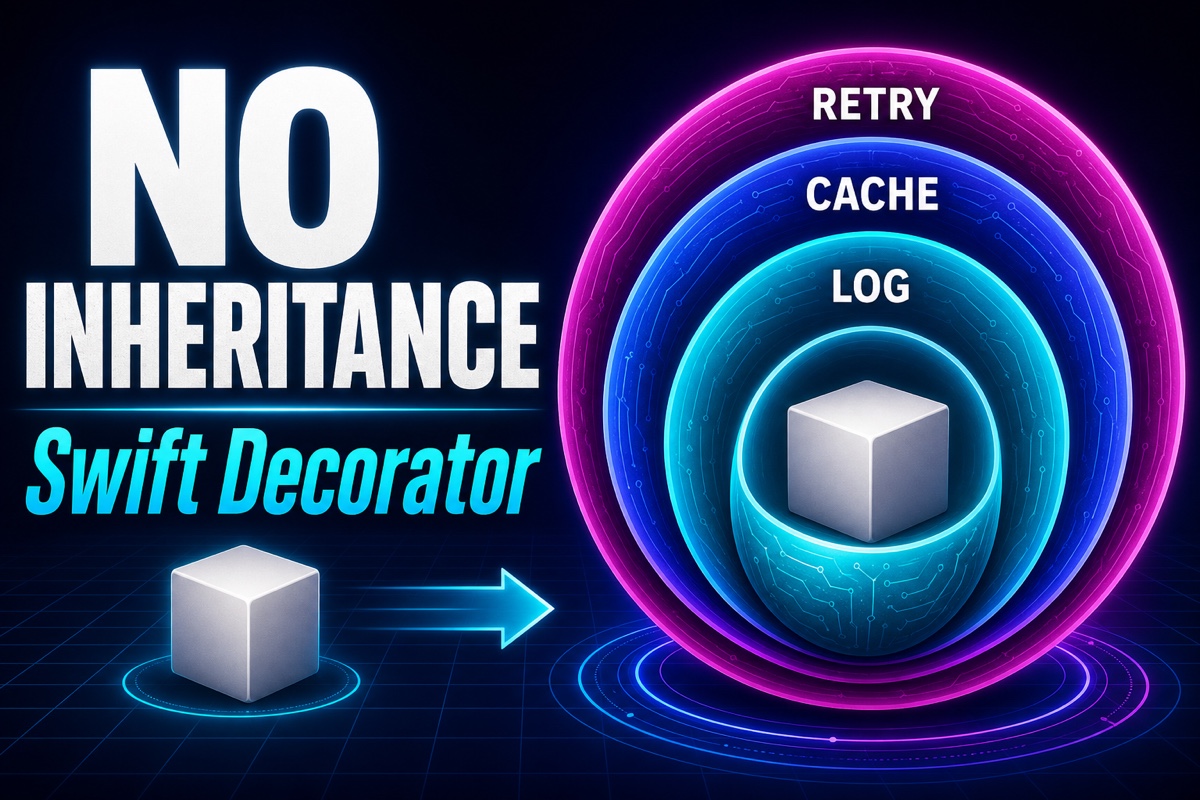
When developing iOS apps, you sometimes want to add just logging or caching while keeping the core behavior intact. Start subclassing for that, and before long the inheritance tree becomes a mess.
When features are added one by one to a network client, it is easy to end up with a class named something like CachingLoggingRetryingClient.
Today, let’s organize the Swift Decorator Pattern that solves this problem: layering features like an onion, without inheritance.
The Decorator Pattern wraps an object in another object that follows the same protocol, adding behavior layer by layer without touching the original code.
Here’s the conclusion first.
- Define common behavior in a protocol first
- A decorator conforms to that protocol and stores another value of the same protocol type inside
- It performs its own work, such as logging or caching, then delegates the rest to the wrapped object
- Keep wrapping as needed to build up behavior
What Is the Decorator Pattern? How Is It Different from Inheritance?
Inheritance expresses an “is-a” relationship. A child inherits everything from its parent.
The problem is combinations. If you create clients with logging, caching, or both through inheritance, each combination becomes another class.
A decorator expresses a “wrapped-in” relationship.
Because the wrapper and wrapped object share the same interface, they look identical from the outside. The client code stays unchanged no matter how many layers you add.
In short, inheritance fixes relationships at compile time, while decorators can be composed freely at runtime.
Implementing the Swift Decorator Pattern in Code
Let’s create a DataLoader that loads data. First, here is the protocol everyone will follow.
protocol DataLoader {
    func load(id: String) -> Data?
}

// Basic implementation that does the actual work
struct NetworkLoader: DataLoader {
    func load(id: String) -> Data? {
        print("Request \(id)  to the network")
        return Data("payload-\(id)".utf8)
    }
}
Up to this point, it is just an ordinary protocol and implementation.
Now for the key part. The decorator conforms to DataLoader and contains another DataLoader inside.
// Logging decorator
struct LoggingLoader: DataLoader {
    let wrapped: DataLoader   // Wrapped target

    func load(id: String) -> Data? {
        print("[Log] load  start: \(id)")
        let result = wrapped.load(id: id)  // Delegate the actual work
        print("[Log] load  complete: \(id)")
        return result
    }
}
LoggingLoader only does its own job—writing logs—and passes the actual loading to wrapped.
This structure means you do not need to care what is wrapped. It only needs to be DataLoader.

Layering Features Step by Step
Let’s add a caching decorator and actually layer the decorators.
final class CachingLoader: DataLoader {
    let wrapped: DataLoader
    private var cache: [String: Data] = [:]

    init(wrapping loader: DataLoader) { self.wrapped = loader }

    func load(id: String) -> Data? {
        if let hit = cache[id] { return hit }        // Return immediately if present in the cache
        let data = wrapped.load(id: id)              // Delegate when absent
        cache[id] = data
        return data
    }
}
The assembly step is where the Decorator Pattern really shines.
let loader = LoggingLoader(
    wrapped: CachingLoader(wrapping: NetworkLoader())
)
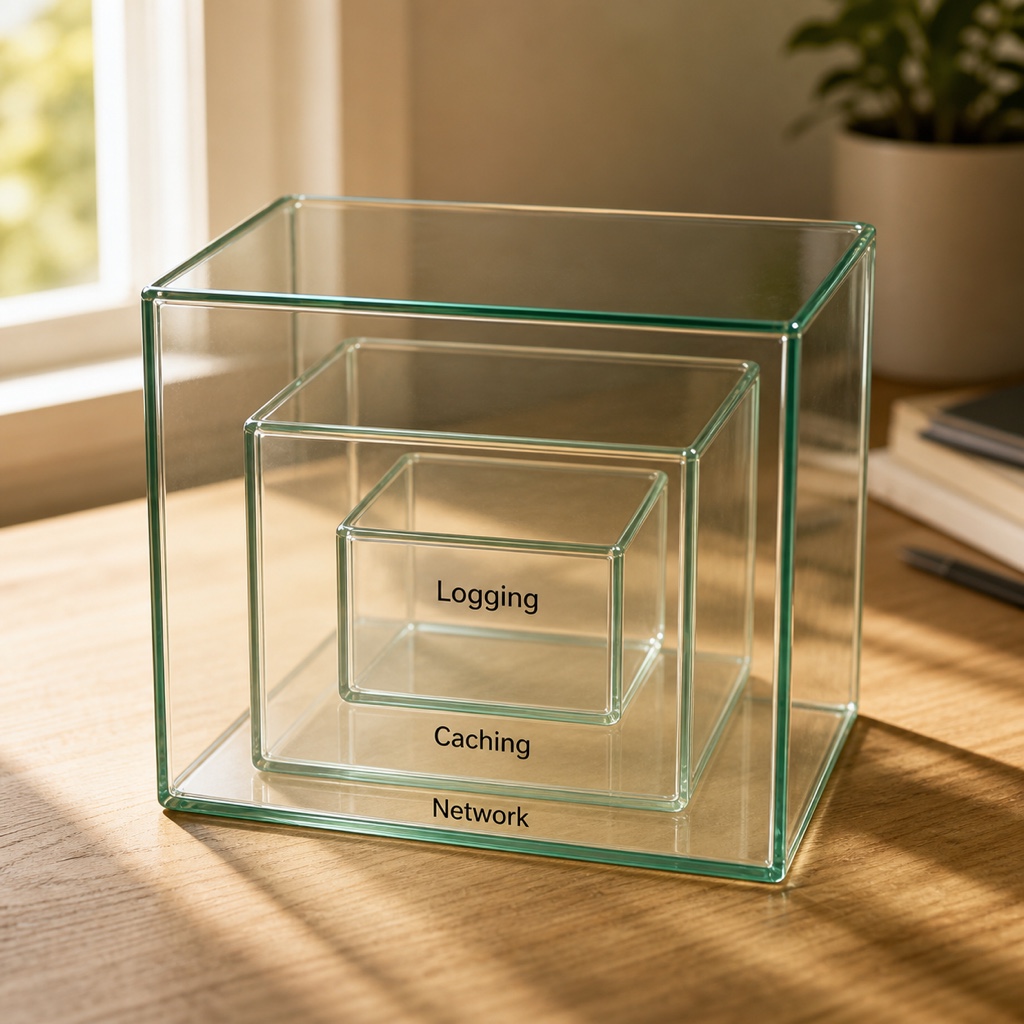
Read it from the inside out. We wrapped the network loader with caching, then wrapped that with logging.
When a call arrives, the flow is logging → cache check → network if absent.
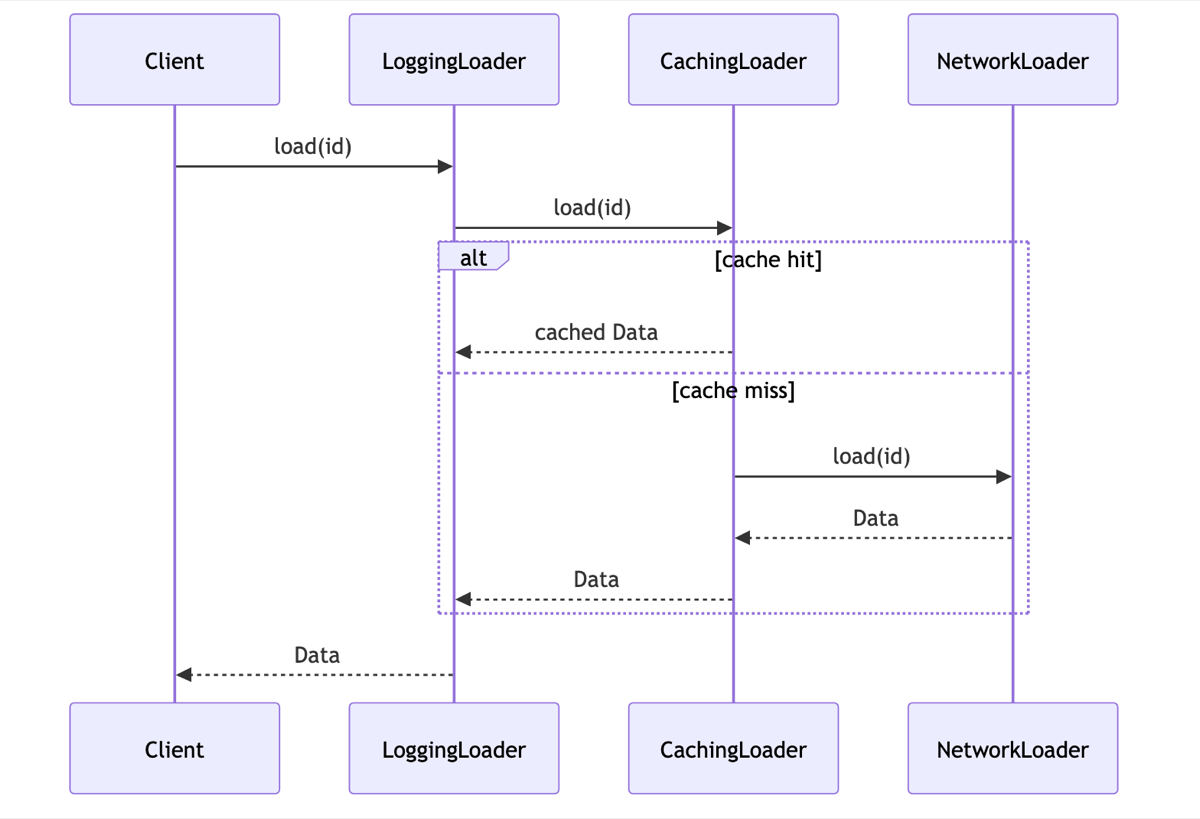
To change the order, just change the wrapping order. Neither NetworkLoader nor CachingLoader requires a code change.
If a feature is unnecessary, simply remove that layer.
Inheritance or Decorators: Which Should You Use?
Neither is always the right answer. Here is a situation-by-situation guide.
| Situation | Recommendation |
|---|---|
| Clear “is-a” relationship | Inheritance |
| Freely combine and remove features | Decorator |
| Toggle features at runtime | Decorator |
| When the original code cannot be modified | Decorator |
| Many possible combinations | Decorator |
Decorators work especially well for cross-cutting features rather than core behavior, such as logging, caching, retries, and adding authentication headers.
Forcing decorators where they do not fit can create many layers and make the call stack deeper during debugging. Keep that trade-off in mind.
Two Frequently Asked Questions
Q. Should I use a struct or a class?
If the decorator must own state, such as a cache, a class is convenient. For simple delegation, a struct is enough. That is why only caching is a class in the example above.
Q. Do many wrapper layers cause performance problems?
Because calls pass through each layer, there is a tiny overhead. Compared with network or disk I/O, however, it is negligible for most apps.
The Decorator Pattern ultimately comes down to defining one protocol, creating an object that contains the same protocol, and delegating through it.
Next time you find yourself digging through an inheritance tree to add a feature, consider wrapping it in one more layer. Your code will become much lighter. I recommend moving today’s example directly into a playground and trying it 🙂