
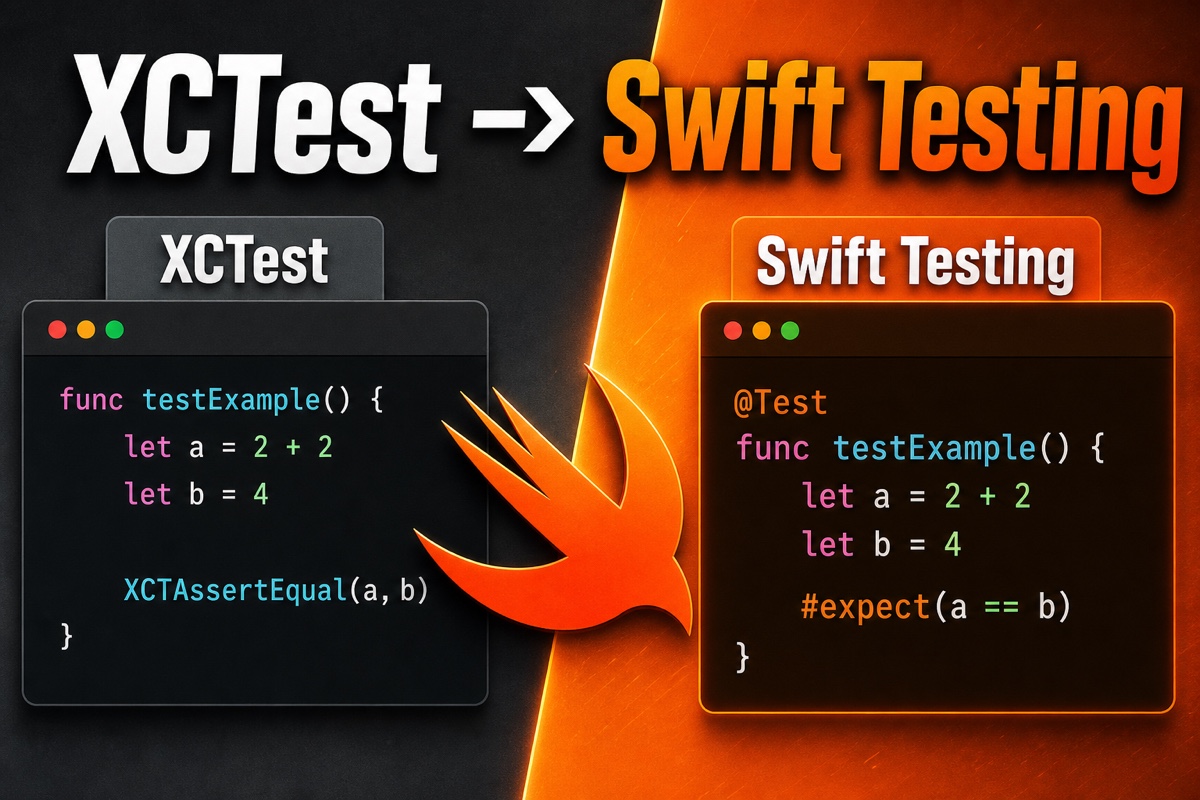
When writing test code for iOS development, XCTest can start to feel restrictive.
I felt the same way: function names starting with func test, verbose assertions like XCTAssertEqual, and failure messages that made the problem hard to spot at a glance.
Then, at WWDC 2024, Apple announced a new framework called Swift Testing.
To cut to the chase, Swift Testing is Apple’s official new standard intended to replace XCTest. With the @Test macro and a single #expect, tests become much more concise, and it has been built into Xcode since Xcode 16.
In this article, I’ll explain what Swift Testing is, how it differs from XCTest, and whether you can use it today, based on my hands-on experience.
What is Swift Testing?
Swift Testing is an open-source testing framework Apple introduced at WWDC 2024.
It was built by making extensive use of macros, one of Swift’s latest features.
The biggest difference is that while XCTest has roots in the Objective-C era, Swift Testing was designed from the ground up in the spirit of Swift.
Since Xcode 16, it has been included by default with no separate installation required. You can also use it directly in Swift packages.
The most noticeable change is the syntax. Test function names no longer need to start with test.
Instead, adding @Test above a function turns it into a test.
import Testing

@Test func Whether the_cart_total is correct() {
    let cart = Cart(items: [1000, 2000])
    #expect(cart.total == 3000)  // Shows the actual value when it fails
}
As in the code above, you can simply put an ordinary comparison expression inside #expect. There is no need to memorize XCTAssertEqual and XCTAssertTrue.
How is it different from XCTest?
I summarized the key differences I noticed while migrating my own code in a table. (As of 2026)
| Item | XCTest | Swift Testing |
|---|---|---|
| Test declaration | Starts with func test | @Test macro |
| Assertions | Several, such as XCTAssertEqual | Unified under #expect |
| Failure messages | Values are difficult to see | Actual values shown automatically |
| Repeated tests | Write a for loop manually | Parameterized tests supported by default |
| Parallel execution | Limited | Runs in parallel by default |
Parameterized tests impressed me the most.
When verifying the same logic multiple times with different values, we used to run a for loop or copy and paste the function.
With Swift Testing, pass a list of arguments to @Test and it runs each case automatically.
It also tells you exactly which values were used in the failed case.
Can I use it right away?
Yes. For a new project, I recommend adopting it right away.
With Xcode 16 or later and Swift 6, there is barely any setup to do.
One thing to know is that Swift Testing and XCTest can coexist in the same project.
That means you do not need to rewrite all your existing XCTest code overnight.
Use Swift Testing for new tests and migrate the existing ones gradually.
One caveat is UI testing. XCUITest-based tests that automate screen interactions still belong to XCTest.
For now, a combination of Swift Testing for unit tests and XCTest for UI tests is the practical approach.
Things to know when migrating
Here are a few tips that proved useful during an actual migration.
First, use init and deinit instead of setUp and tearDown. Swift Testing creates a new instance for each test.
This greatly reduces the risk of accidentally sharing state between tests.
When a value must exist before proceeding, use #require instead of #expect.
If the condition is not met, #require stops the test immediately.
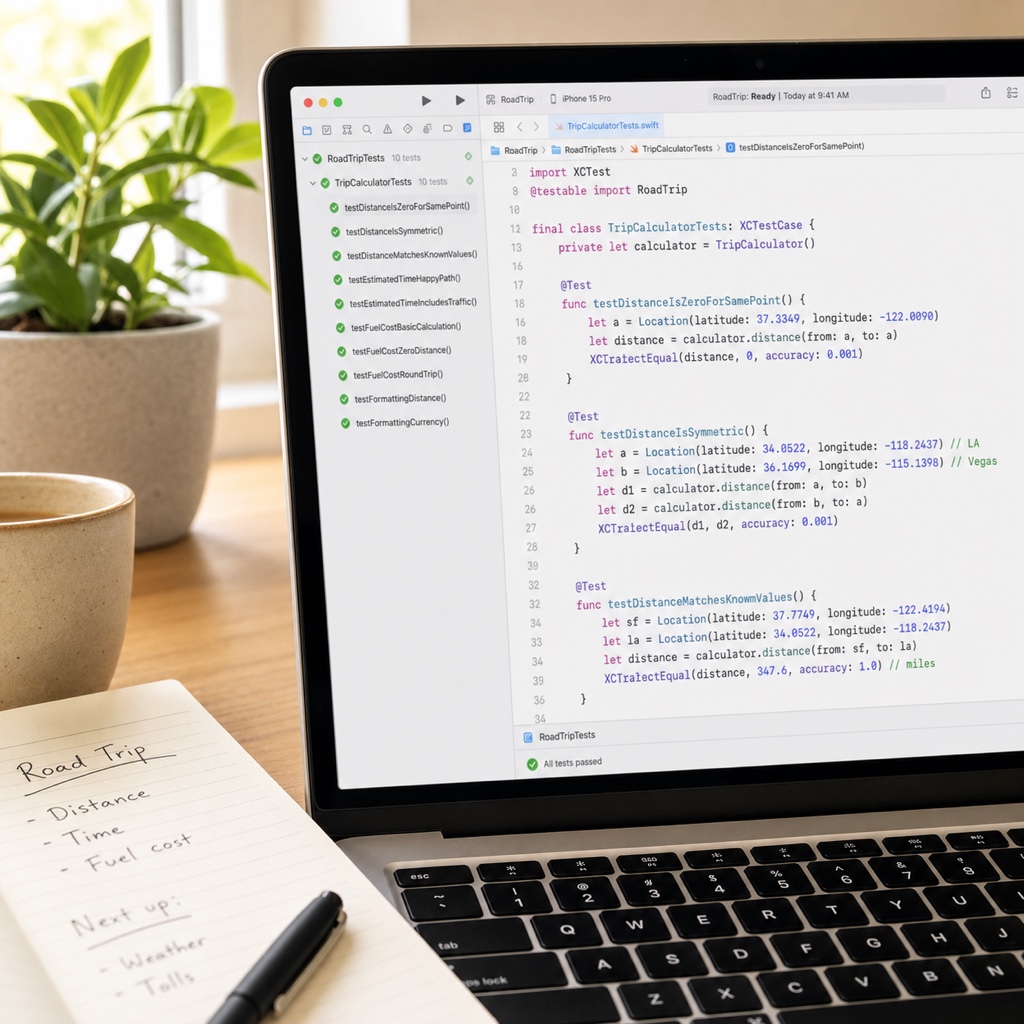
Tags are useful too. You can group related tests and run or filter them together.
To verify that an error is thrown correctly, use #expect(throws:).
Summary
Swift Testing is not an experimental feature that just appeared; it is the next standard Apple is promoting.
You do not need to change everything immediately, but once you try it with new tests, you will quickly get used to the convenience.
If iOS test code has felt restrictive, I encourage you to migrate just one test to @Test today.