
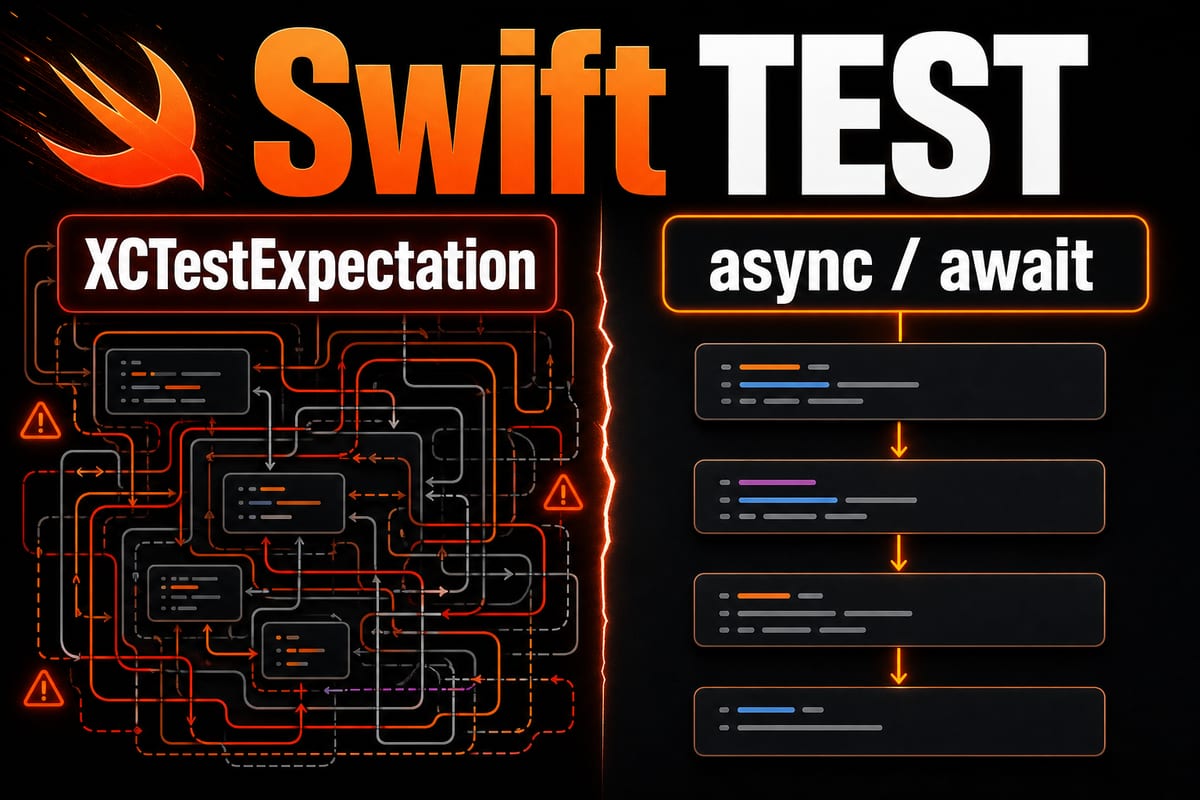
You may be comfortable writing code with async/await by now, but have you ever felt stuck when it came time to write the tests?
That is especially common if you still have the habit of testing callback hell by adding XCTestExpectation to wait(for:).
Here is the bottom line. With Swift 5.5 or later (Xcode 13+), declare the **test function itself as async, wait for the result with await, and then verify it with **. The old approach using expectations and timeouts is mostly unnecessary now.
Today, I’ll walk through the async/await testing techniques I’ve organized from real-world practice, from start to finish.
Let’s start with the key takeaways
For those in a hurry, here are the main points of this article.
- Add
async throwsto the test method and callawaitinside it - For error validation, use
do-catchor the async version pattern ofXCTAssertThrowsError - Use
expectationonly when a timeout is truly required - Wrap legacy callback APIs with
withCheckedThrowingContinuationbefore testing them
How do you test Swift async/await code?
Let’s start with the most basic form.
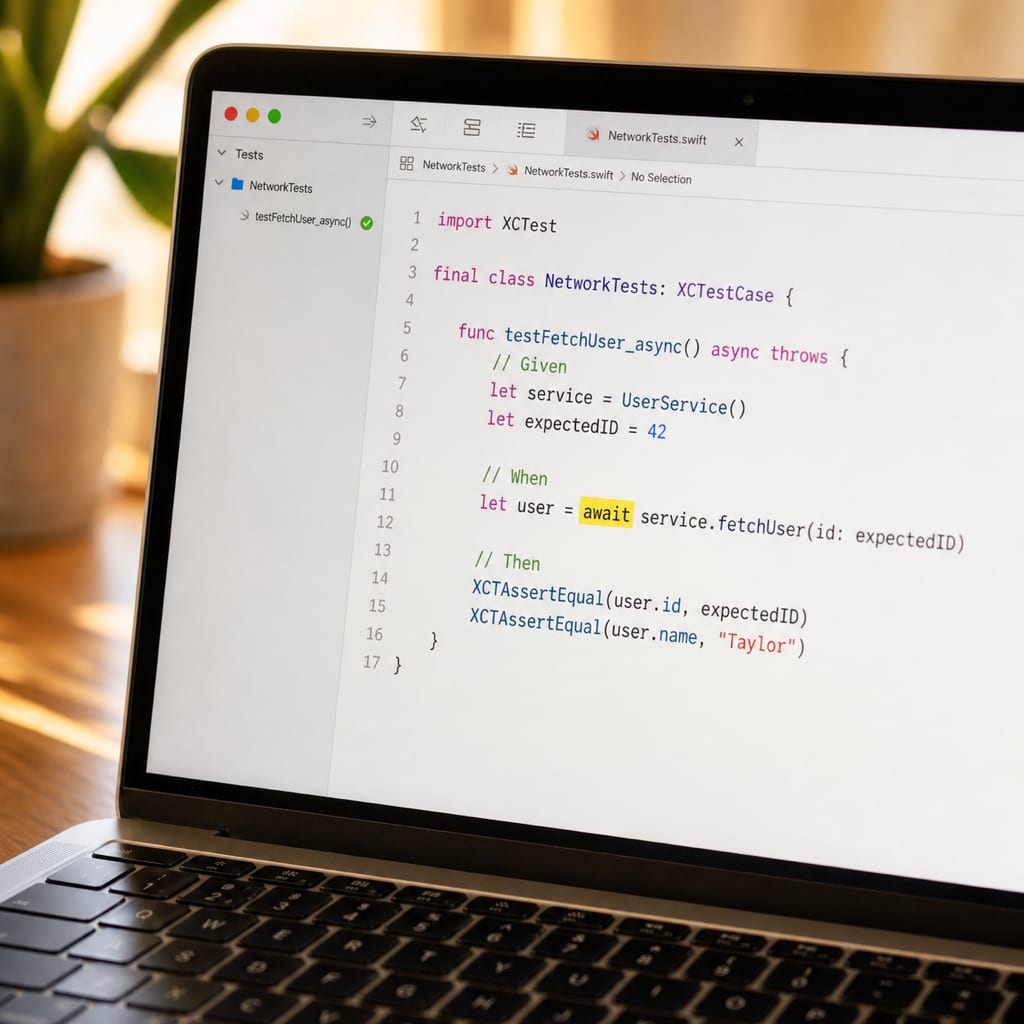
Previously, we created an expectation to wait for an asynchronous result and called fulfill inside a closure. The code was long and difficult to read.
Now it is much more concise.
// Just add  async throws to the test function
func test_Load the user_() async throws {
    let service = UserService()
    let user = try await service.fetchUser(id: 1)
    XCTAssertEqual(user.name, "Lee Seok-woo")
}
There are exactly two things to notice in the code above.
First, async throws is added to the function declaration. Second, after waiting for the result with try await, we verify it normally with XCTAssertEqual.
When the test function itself is async, asynchronous code reads from top to bottom like synchronous code.
After switching to this approach, I cut the number of test-code lines nearly in half.
How should you verify errors?
You will often need to test cases where an asynchronous function throws an error.
The most straightforward approach is do-catch.
func test_Missing_ user_ error() async {
    let service = UserService()
    do {
        _ = try await service.fetchUser(id: -1)
        XCTFail("An error should be thrown")
    } catch {
        XCTAssertTrue(error is UserError)
    }
}
The key is to add XCTFail to the success case.
If no error occurs and the test simply passes, it can look as though the test succeeded silently. Think of this as a safeguard against that.
Incidentally, XCTAssertThrowsError from synchronous code cannot receive an async function directly by default. That is why I more often write it out using do-catch as shown above.
How do you test legacy callback APIs?
It would be great if all code had migrated to async, but reality is different.
Your project probably still contains legacy APIs that return results through completion handlers.
In that case, wrap them with withCheckedThrowingContinuation and bring them into the async world.
func fetchLegacy() async throws -> Data {
    try await withCheckedThrowingContinuation { continuation in
        oldAPI { data, error in
            if let error { continuation.resume(throwing: error) }
            else { continuation.resume(returning: data!) }
        }
    }
}
Once wrapped, the test can simply call it with try await fetchLegacy(), making it identical to the approach above.
One thing to watch out for: a continuation must be resume exactly once. Calling it twice causes a crash, while never calling it leaves the test stuck forever.
When should you use expectations versus async tests?
Here is a comparison of the two. (Xcode 13 or later, as of 2026)
| Item | Expectation approach | Async test approach |
|---|---|---|
| Code length | Long | Short |
| Readability | Nested callbacks | Sequential, top to bottom |
| Setting a timeout | Easy | Requires separate handling |
| Recommended use | Waiting for notifications or timers | Most asynchronous operations |
For typical async/await functions, the async approach is much more convenient.
However, when an explicit timeout matters—for example, when checking whether a notification arrives within a specific time or a timer fires on schedule—it is still useful to use an expectation as well.
Wrapping up
It may feel unfamiliar at first, but once you add async throws to a test function, you’ll wonder why you didn’t switch sooner.
Once you are comfortable with the four patterns covered today, you can handle most asynchronous tests without difficulty. Try applying them one at a time—I’m rooting for you!